Happy Valentine's Day!
If you follow us on
Instagram, then you have seen the Love Letters Quilt I made last week.
At the end of this post you can learn how to make an envelope block of your very own.
so stay tuned......
New in the
SHOP this week

We have the precuts for all your quilting needs, and yardage of ALL the prints in this collection.
The pinwheels....the sweet girls....and don't even get me started on how cute those darn ducks are!!!
We also received a fabulous load of Precuts from Moda.
Yardage for all three collections will be here in March.
And if you are in the quilting mood, grab one of those precuts, and one of these snazzy new
patterns that are in the shop.
Do you feel the LOVE today with all this eye candy?
I know I do!
So, are you ready for a little Love Letter Block Tutorial?
You will Need:
(9) 10" Squares for the main part of the envelopes
(9) 7" Squares for the inside of the envelope
(9) 5.5" White squares for the top sides (or whatever color your sashing will be)
About 1 yard for sashing, depending on how wide you make your strips, and 3/4" for the border strips.
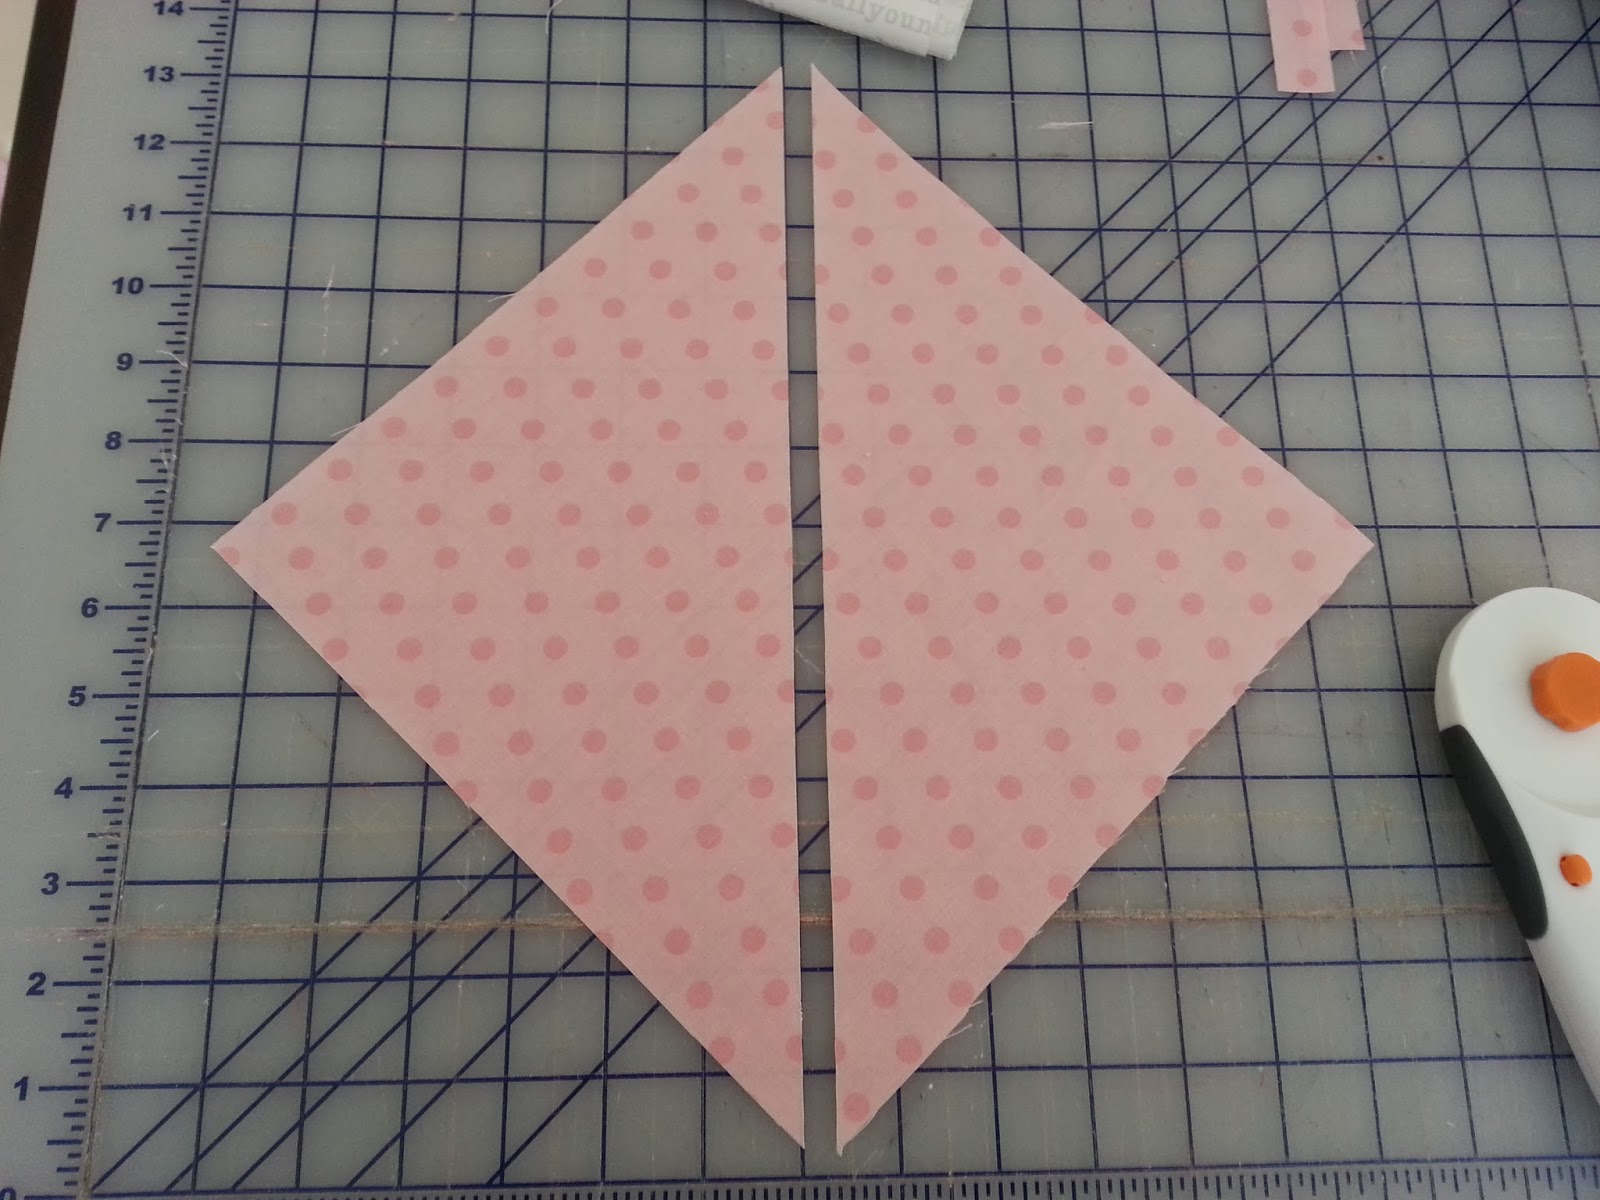
1. First, take your 10" square for the main piece of the envelope and trim 3/4" off the side and bottom of the 10" square. Save those strips you cut off.
2. Now, cut that square in half, diagonally.
3. Grab the 7" square you want to go with it and set it up like below.
4. Now, flip one bottom triangle over like this, leaving a 1/4" hanging over the side. That way when you sew it together, it will lay even along the side. Sew right sides together down that side of the 7" square.
5. Press that seam down, and then fold your other 10" piece onto the side, leaving 1/4" hanging over the top again, and along the bottom this time too.
6. Sew right sides together down that long piece of the triangle. Press the seam and it should look like this.
7. To attach the top strips, just lay them right sides together with the envelope and use a 1/4" seam allowance. Then trim off the excess.
Your envelope should have an extra triangle flapping along the bottom on the back, and little ones remaining from the strips, just cut them off.
8. Now, take one of your white 5.5" squares and cut it in half diagonally.
9. Lay it along one top side like this, leaving 1/4" hanging off again.


10. Sew it on, right sides together, then press. Repeat for the other side. You will have extra hanging, just trim it off and make it square and a perfect rectangle.
Each block is about 13.5"x9.5"
Then just lay them how you want to. I originally had 4 rows of 3, and then decided to take a row off. I sure hope you agree with my decision :)
Feel free to add as much or as little sashing as you wish. I used 3.5" strips, and sewed them on with a 1/4" seam allowance. I used 4.5" strips for the red border.
And then your done! Your love letters are complete.
I can't wait to get mine back from the quilter. Even though Valentine's Day will be over, I think I will leave it out and enjoy it for a couple of days.
♥ Have a wonderful Valentine's Day! ♥


