
Better late than never, right?
Here is the tutorial I promised!
I made 2 little skirts in about 30 minutes.
Easy peasy!

I have a thing for little scottie dogs.
They melt my heart.

So here is what I did.
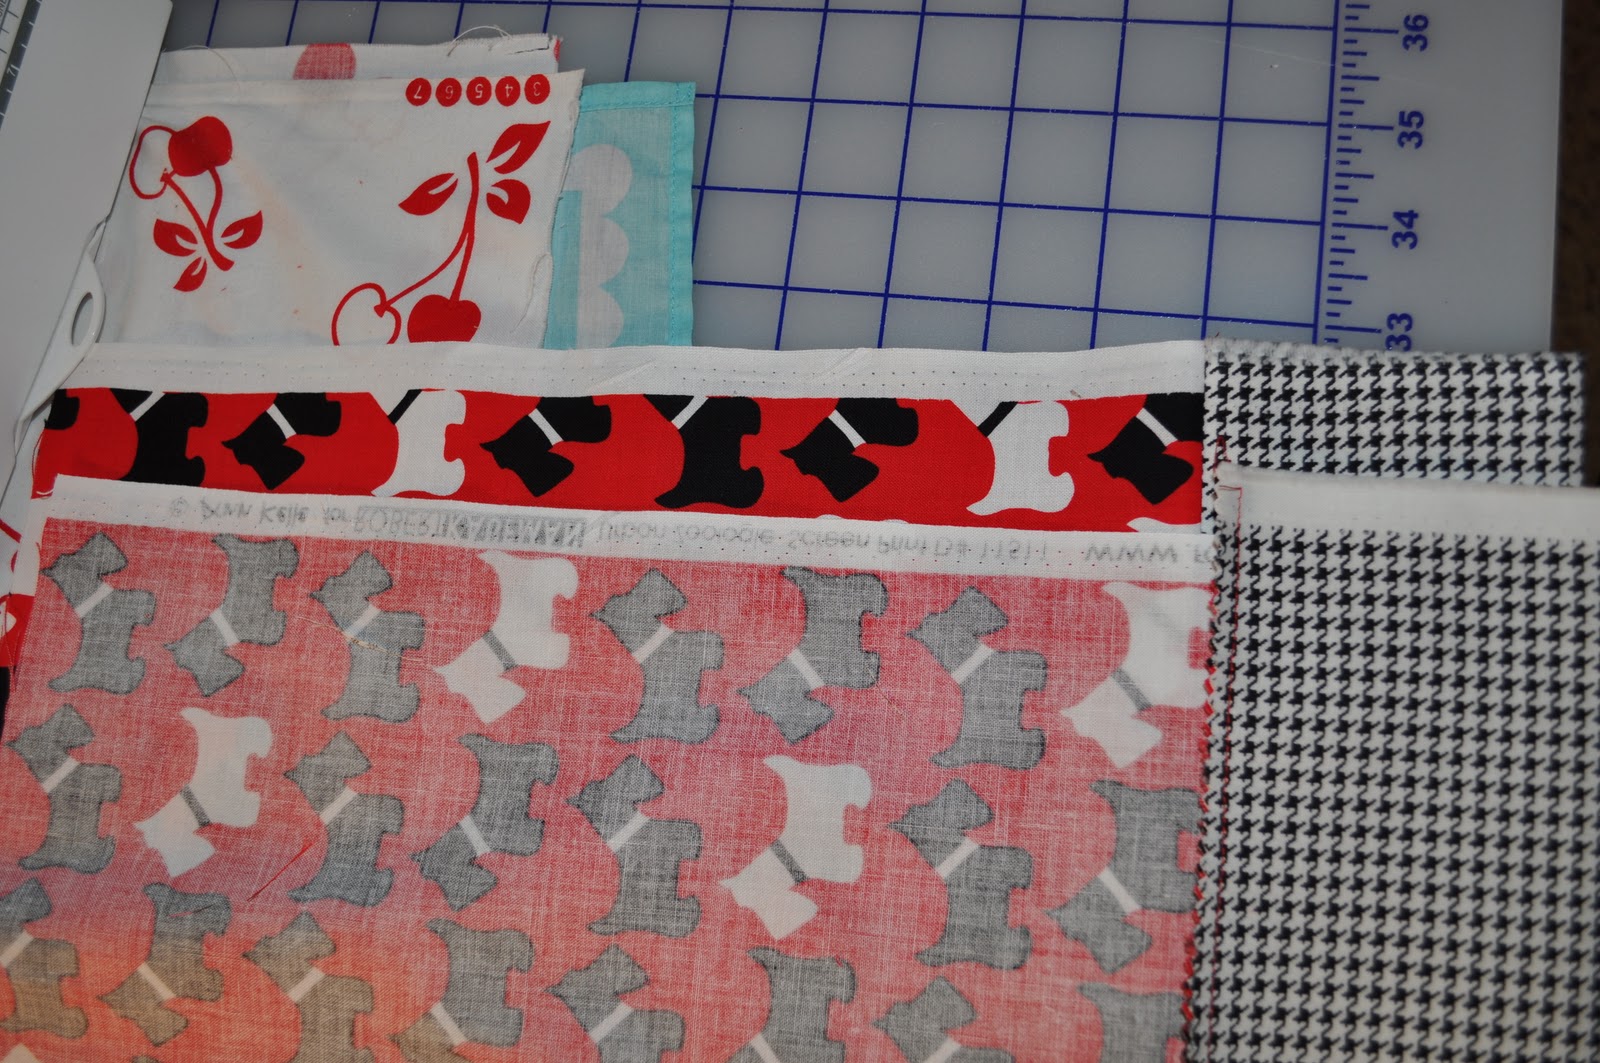
1. I cut about a 1/2 yard of the red scottie dogs for the main of the bigger skirt.
And then I cut 8" of the houndstooth.
You can lengthen, or shorten the pieces as needed.
I folded the houndstooth in half and ironed it down.
I left the fabric 44/45" Wide.

Then I sewed the two pieces together. The bottom of the skirt is already finished at this point because the fold is along the bottom, and two raw edges are sewn to the bottom of the scottie dog fabric.
Making sense, good.

Next I turned the skirt the other way and lined the ends up, and sewed the two ends together.
Then you should have a huge circle.

Now if you're fancy you can serge your edges.
But me, I am all about the pinking shears.
Or you can zig zag stitch your edges.

Okay, this it what it should look like now, one big circle.

Next, the casing for the elastic.

At this point I actually trimmed off a few inches at the top of the scottie dogs because it was going to be a little bit too long for my 3 year old. So If I were you, I would hold it up to your little model at this point and check the length.
Then I folded the top of the skirt under 1/2", ironed it down.
Then I folded that part over again another 1/2" and ironed it down.
All the way around the top of the skirt.

Now, stitch around the bottom edge of the fold overs you just made. But don't stitch around the entire thing, be sure to leave about a 3" opening to feed the elastic through.

Now, cut a piece of elastic about 2" shorter than the measurement of your little ladies' waste.
Take a safety pin (I have a ginormous one) and use it to feed your elastic through the casing.

After you feed it all the way through, hold on to both ends of the elastic and sew them together.

Then try it on your little lady make any adjustments to the waistband size as needed.
Once it is a good fit, sew the 3" opening shut.
Ta Dah!

For my littlest lady I just cut all my pieces down to her size.
You can always take a skirt out of their closet and get measurements from it.
She approves!

I wish I had a fabulous family photo of us all with Santa that took place later in the day, but wouldn't you know my 3 year old was scared to pieces and wouldn't go near him.

Oh well, maybe next year.
6 comments:
Yay! I've been waiting for this one. I never got around to the twirly skirt, this seems even easier. :D
Brittney
Cute cute family! And skirt!
Nice pattern.
Thank you.
What beautiful family
photos.
Happy New Year to you.
Great new fabrics. I love them, especially the once upon a time one.
Looks great - and easy too! For your baby, did you still keep the fabric at its original width, or did you cut it smaller?
Thanks!
Great tutorial, looks easy peasy. I've been enjoying your blog and pinning some of your tutorials. Thanks so much. Lovely family! ~ Abby
Post a Comment