Here it is, just as I promised!
THE FALL BUBBLE SKIRT TUTORIAL!
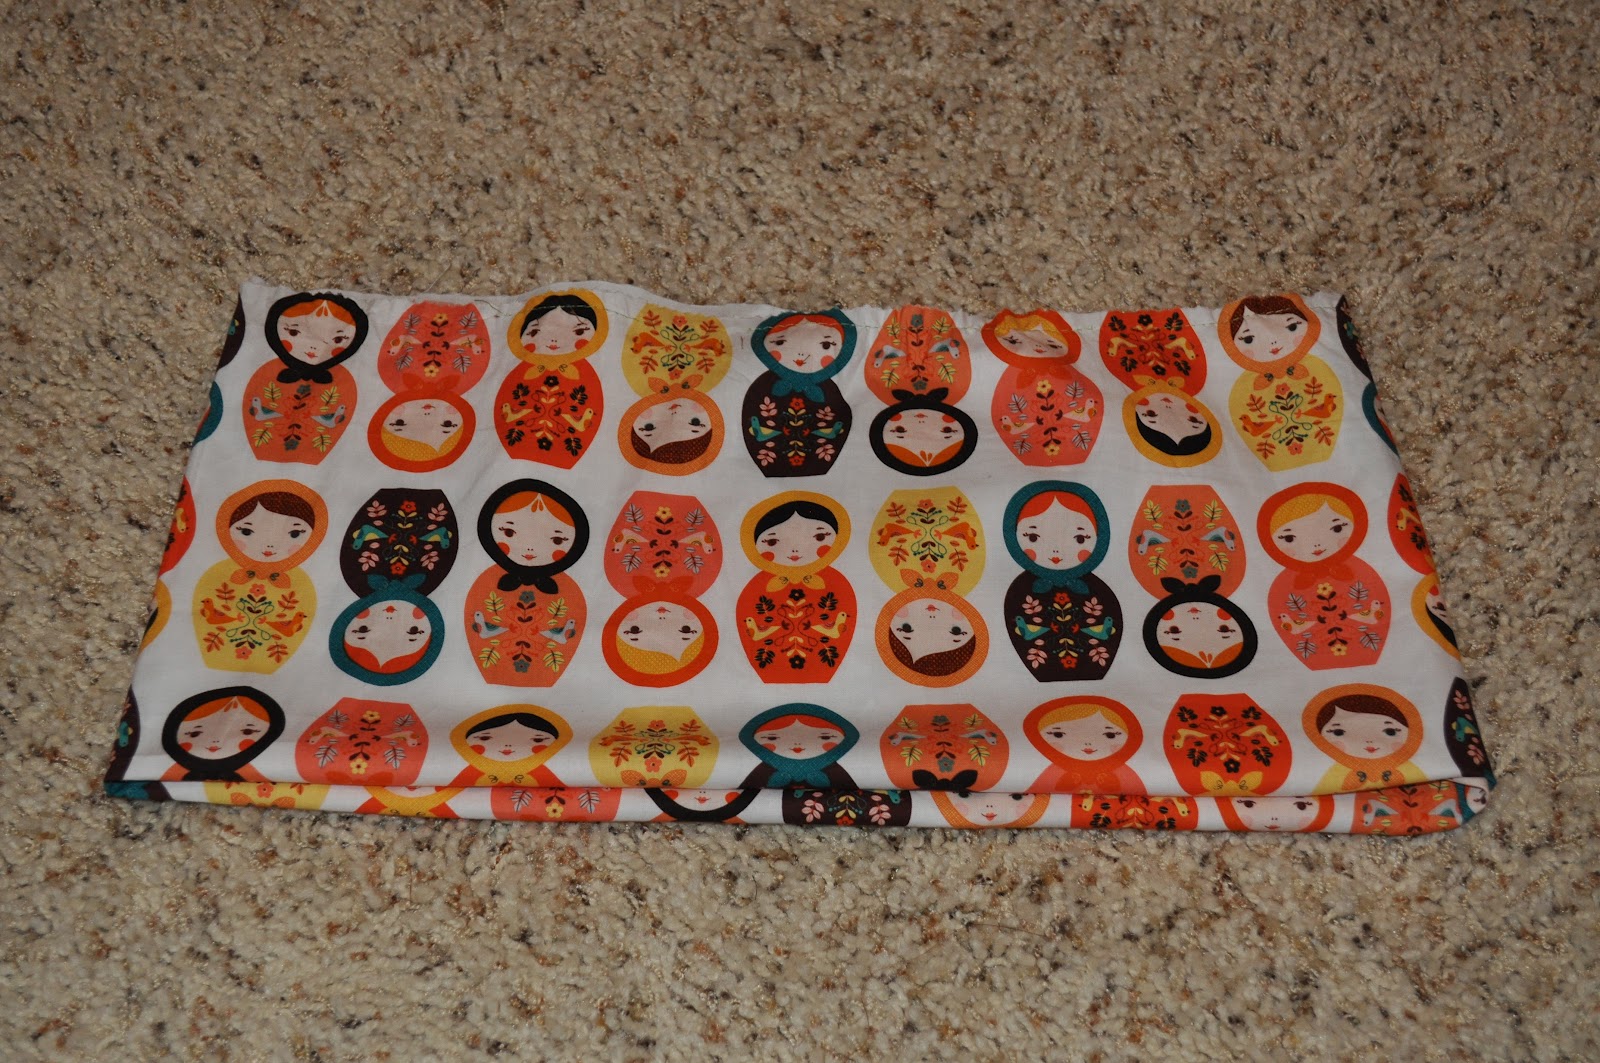
These fabulous little Matryoshka Dolls stole my heart when they arrived.
I have a thing for little Russian Nesting Dolls these days. They are popping up everywhere lately, and are super popular. And super adorable.
I knew that I had to make my little lady a fall skirt out the
Dolls in Retro.
Here is the tutorial:
(I LOVE LOVE LOVE that collection)
Size about 3T-4T
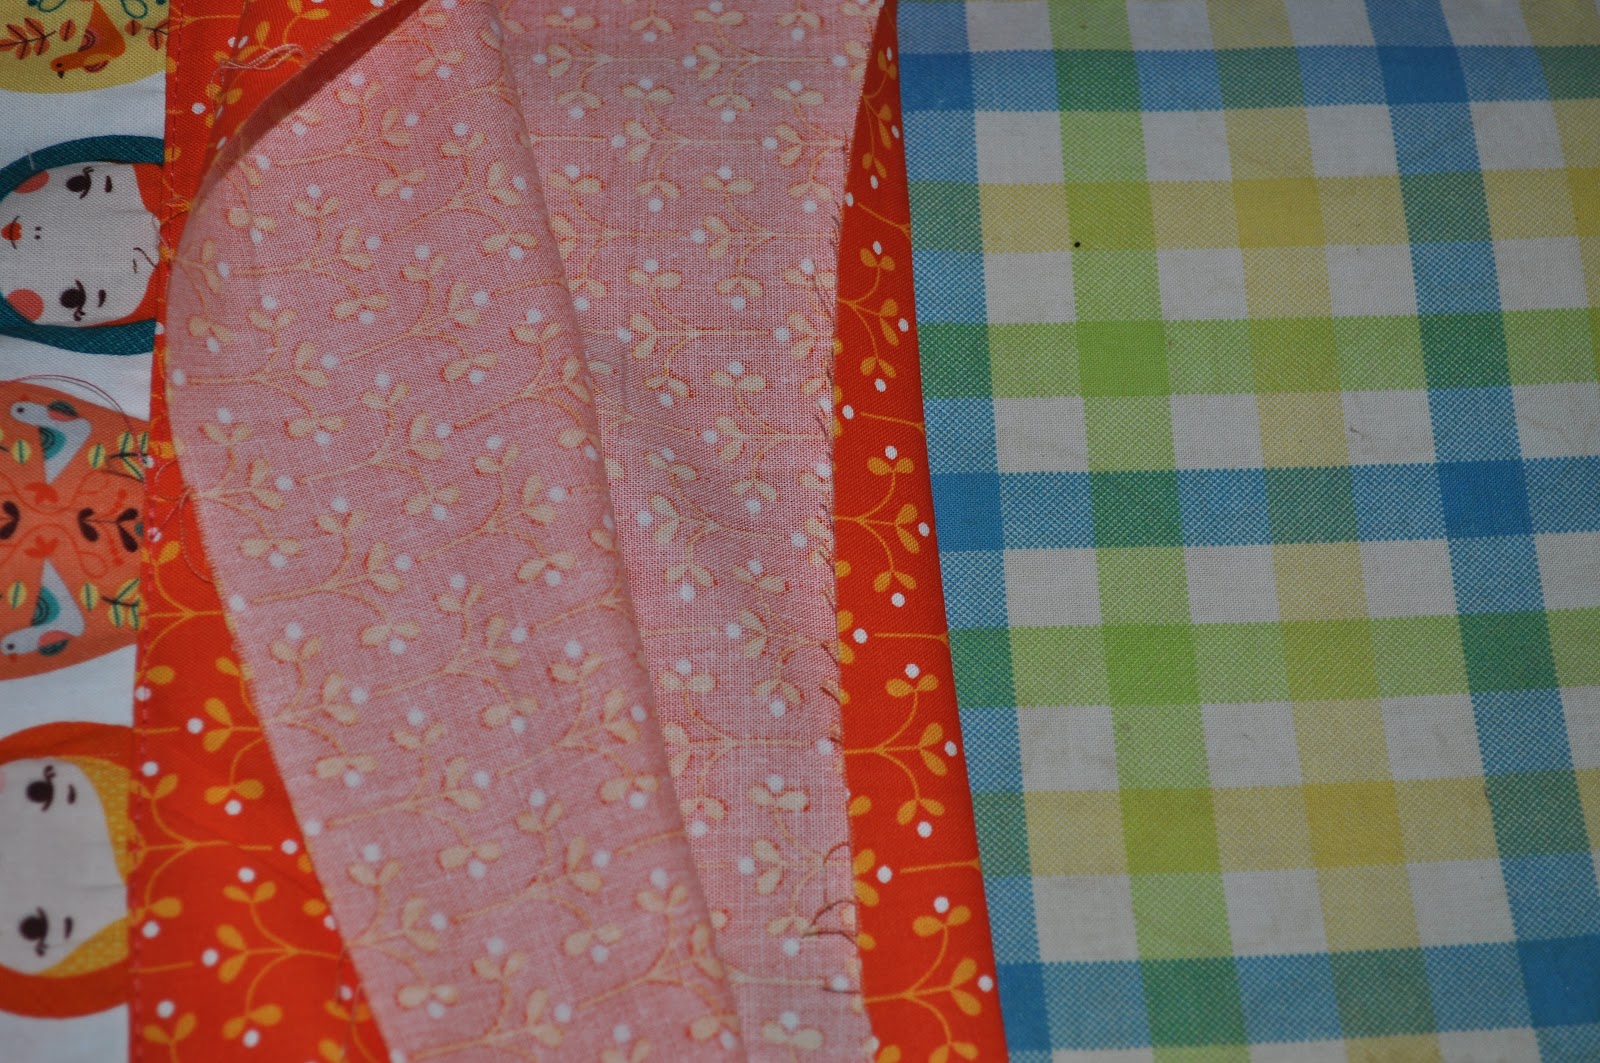
1/2 Yard Dolls, about 1/2 yard Orange, about 1/4 yard Birds
I cut about 1/2 yard of the fabric for the main piece.
I left the fold along the side, and sewing the other sides together, right sides together.
So then you get a tube/circle of the main piece.
Then I folded the bottom half of the fabric up underneath the top half. Creating a little bubble on the bottom.
Next I ruffled the top, both layers, all the way around. Set your machine to the longest length stitch, and sew a straight stitch all the way around, don't back stitch. Then pull one of the threads and push the fabric towards the center until it ruffles all the way around.
Next, I cut a 5" strip of the Orange Fabric for the band. I trimmed the ends off so it was a strip about 5"x22". You will want to cut it just a little bit bigger than the waist measurement of it's future owner. Then I took that strip and sewed the short ends together, right sides together. Forming a loop.
I slipped my loop over the main piece, so all of the main piece was inside the Orange loop. Then I adjusted my ruffles so it was roughly the same size as the orange loop. Fitting just perfectly inside the loop.
See how it is sandwiched in there?
Then I sewed a straight stitch, all the way around the skirt. Connecting the band to the main piece of the skirt.
Lookin Good!
I didn't have any orange thread, so I found the next best thing :)
And top stitched all the way around the band, making it look nice and clean.
Now it is time for the elastic casing. Fold over the top of the band about 1/2", and then fold it over again however wide your elastic is, and press.
Then sew all the way around the top of the band and be sure to leave a small opening for the elastic.
Attach a large safety pin to one end of your elastic.
And start feeding it through your skirt casing. You should end up with something like this.
Now try it on your little gal, and adjust the length of the elastic as needed. Then sew the ends of your elastic together.
Once the elastic is inside, sew your opening shut.
Now for the belt!
I cut (3) 2.5x44" strips of fabric.
I sewed them together end to end and made one really long strip.
The I folded that strip right sides together the long ways, and sew all the way down the strip.
Then you will need to turn the strip right sides out. This can tricky. Feed it through a really long pencil, or spoon.
Then press, and if you want you can sew a straight stitch along both sides of the strip to make it look a little more finished and polished.
You can tie your belt on anyway you like.
I wanted mine to hang a little loosely.
Once I tied it the way I wanted, I sewed it to keep it in place.
I made my flower by using a 5" strip of fabric, folded in half and then ruffled along one edge.
I curved the ruffle to form a circle, and then sewed the two ends together. Don't worry about the raw edges, this will be the back of the flower.
I used some leftover orange fabric to make the rosette.
HERE is a little tutorial for making rosettes.
I hand-stitched the belt in a few places just to keep it in place, and I had sewed the flower onto the belt.
Girlfren loved it!
She couldn't wait to slip it on and model for me.
3 years old and loves to model.....
What are her teen years going to be like?
Heaven help me!
Happy Sewing Everyone!