
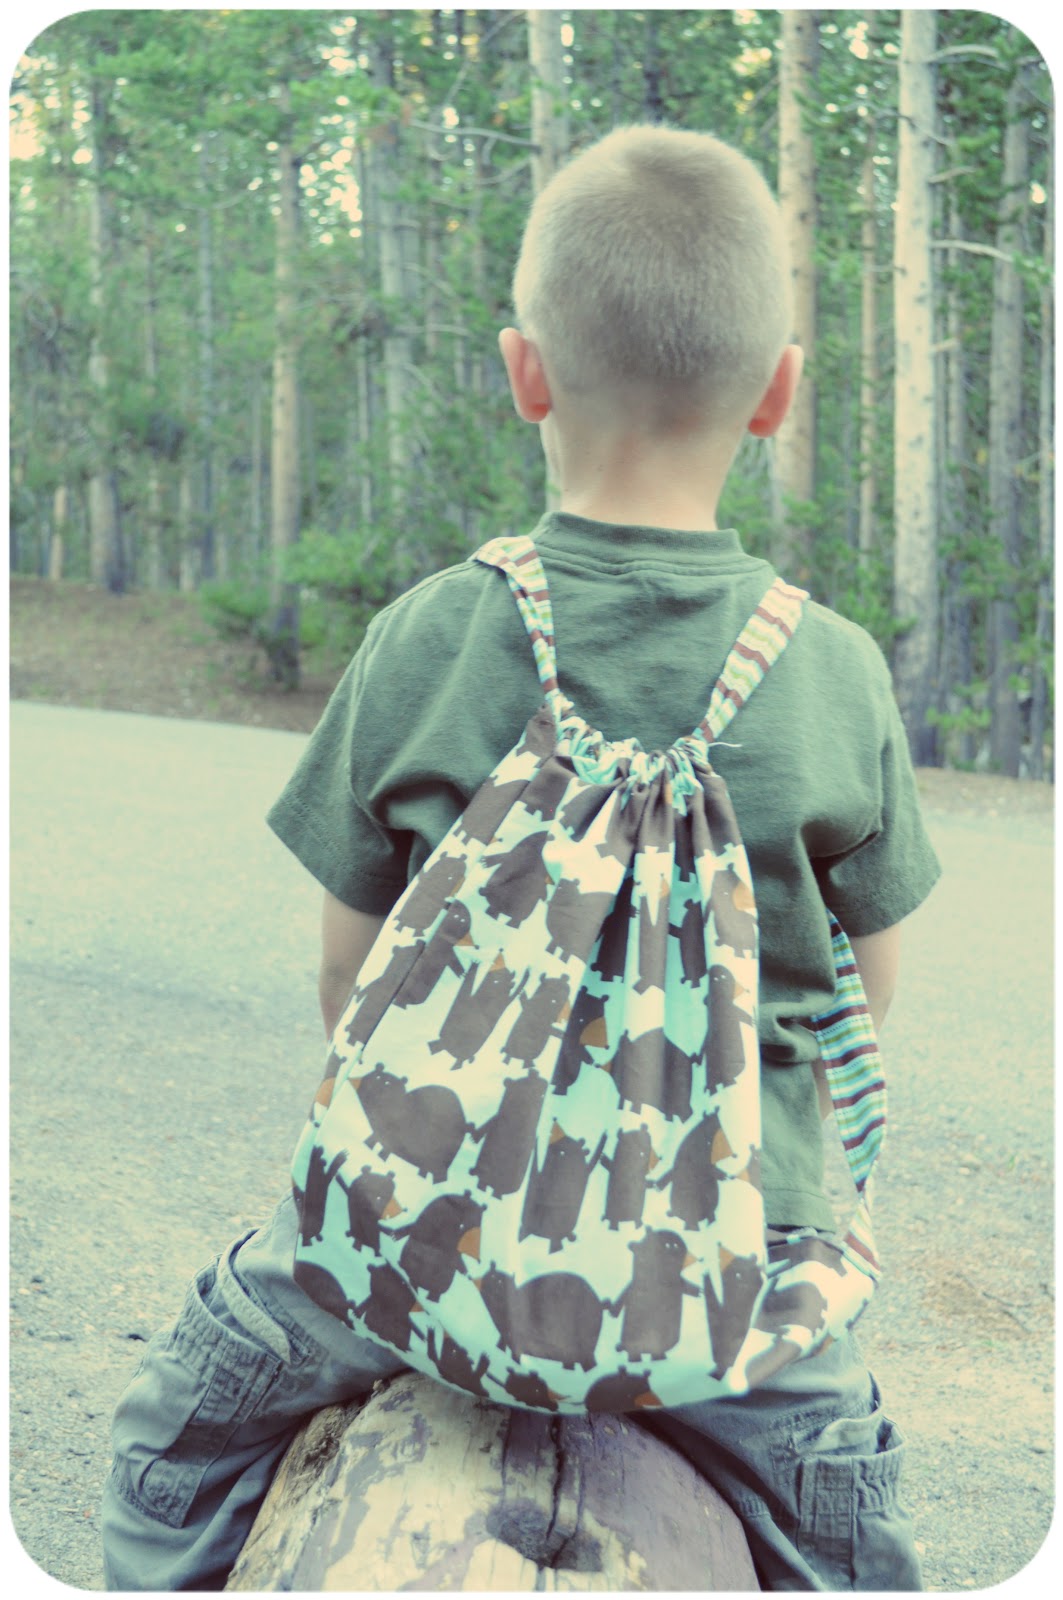
I made these little Hiking Back Packs as a surprise for my kiddies on our recent trip to Yellowstone.
 I couldn't resist the little bears, they were just too perfect!


They cinch closed and are super easy to open and load up with their goodies.
They were also a "cinch" to make!
Here is the how to:
- I started with a 1/2 yard of fabric for the bigger bear backpack (I ended up cutting it down a little smaller), and I used about 1/4 yard for the smaller butterfly pack.
- Then you'll need about 1/4 yard of contrasting fabric, cut into 3" strips for the straps. You could also use ribbon.

1. I sewed the 3 strips end to end, to make one really long strip, 3"wide.
2. I folded that strip in half, right sides together and sewed all the way down the long strip. Close up ONE end of the strip.

3. Next, you need to turn the strip right sides out. I stick a pen, or a long wooden spoon, into the end I sewed close, and then feed the pen through.

Once the pen pops out the other end, I grab that piece of fabric (the piece showing the right side of the fabric) and pull it out, while holding onto the cinched up part of the strip.

Then I pressed the really long strip flat. Phew, hopefully that all makes sense?
Clear as mud? Great!

Like I said earlier, I ended up cutting my 1/2 yard piece into a smaller main piece for the backpack. My 6 year old was just a little bit too small for that size of bag. Since it was a surprise, I was totally guessing at this point. You could always hold it up to your little hiker and find the right size.
So I trimmed it down to a good size for him.

4. Your fabric will probably have a fold in it somewhere, Go ahead and cut along that fold, so you have TWO pieces of fabric, the exact same size. One for the front, and one for the back.
5. Place those two pieces right sides together and sew along the edges.
Here is a little diagram of where you should stitch.

Here is the bottom corner, see where I left a 1" opening? Do that on both sides.

I also reinforced the bottom of the backpack with a zig zag stitch.
Here is the top corner where I left about a 3" opening along both sides. Leave the top completely open.

6. Next, turn the pack right sides out and pressed down all the openings and sides to make it lay flat.
You will want to press down the top sides along the seams like shown below.
Now, sew a straight stitch along those little top folds.
** I may have forgotten this step, so here is my illustration showing you what to stitch**


7. Next, fold down the top edge about 1/4 yard and press.

8. The turn it down again about 1" and press. Repeat along the other top piece.

It should look something like this. Except your sides will be stitch down a bit, darn how I forgot that step!

9. Okay, this is where you make the casing for your straps. Sew a straight stitch down the top folds. On both sides.But don't sew the side open shut.


10. Now it is time to feed your straps through. You should still have one really long strap. Cut that strip in half, to get two straps. Put a large safety pin on one end and start feeding it through one side of your casing.

Once your get to the other end of the casing, STOP! Don't pull it out. Just leave the strap just BARELY peeking through the end. Like this....

Because next you are going to stitch that little strap in place at the end of that casing. You won't be able to see the end of that strap.

Then you will repeat for the other side, BUT you will feed that strap through the opposite side.
You will only have one strap on each side of the backpack. Like this....

Hopefully I haven't lost you!
11. Now, go find your little hiker, and hold the pack up to him/her and decide how long your straps will need to be. Trim accordingly. You will most likely cut off A LOT. The straps don't need to much longer than the height of the backpack.

12. Now, take that lose end of the strap and feed it into the 1" opening you left at the bottom corners of the bag. Sew into place. And repeat on the other side.

YOU"RE DONE!!!
3 comments:
Great tutorial, great looking bag! Sharing on my facebook now as it ties into our sewing project this month at Hopeful Threads perfectly! Thanks!
These are great! Thank you for sharing them!
Thank you so much for sharing this idea, my daughter is getting some awesome loot bags for her birthday party with this idea! So thank you!
Post a Comment